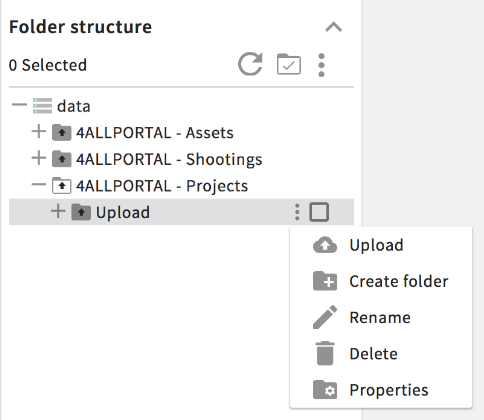
You can upload and import files directly to a folder, if the folder type is set as "upload folder".
Select an upload folder in the Files module.
Sample:
Click the "three dots" icon for this folder to open the folder-based action menu.
Click the "Upload" icon to open the local file selection menu on your Windows PC or Mac.
Select one or more files to upload.
Confirm your selection to start the file upload.
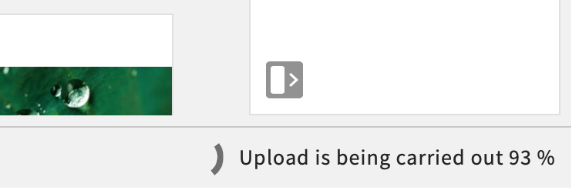
The upload and import will be performed by the system as a background process.
You can see the "status" of the upload and import process at the bottom right of the footer on the user interface.
You can interrupt the current upload and import process with the Import Manager. Click the "status"-bar at the right corner of the footer to open the Import Manager.
You can find further information in section "Import Manager".
When "Import tagging" is active on the upload folder, you will be requested to tag metadata fields during the process.
Sample: Import tagging
If the upload folder already contains files with the same file name, you can choose how to continue the import with existing files.
The upload and import is succesful as soon as you get a message from the system.
Click the "Search" button to update the main view, if needed. Note:The system will start importing data into the upload folder during the import process; it will also generate new image previews at the same time. It might take some time until all files/assets are available in the folder with their previews.