Share files via eTicket
Using the eTicket function, you can share files to your external partners and colleagues from within the shopping cart. This involves writing a message using the editor and sending it via email. The email will include a link to the eTicket gallery, via which the recipients can view files and metadata and download them as well by selecting a released download profile.
Live Update: When sharing files via the eTicket, no snapshot is created as is the case with the download link; instead, the files are connected “live” thanks to the direct connection (tech. links) between the gallery and the DAM.
When files or metadata are edited in the 4ALLPORTAL, these changes are immediately applied to the previously shared files in the gallery as soon as they are saved. This greatly simplifies the sharing of files because you can, for instance, split the files and work on them in parallel without having to share the new file versions to your collaborators over and over again.
- Select files in the Files module in the main view, detail view, or detail view of an existing collection.
- Click the “Add to shopping cart” icon in the toolbox to add the files to your shopping cart.

- Click the “Shopping Cart” icon to open your shopping cart.
- The system has already automatically assigned a download profile to the files. If no customized profile has been set for your organization, then the default profile will be set to “Original”. With this profile, the files will be downloaded unchanged.
- Choose a range of download profiles that you wish to be available for selection for downloading the files in the eTicket gallery.
Sections 4, 8, and 9 in chapter Download - Download Selected Files from Shopping Cart explain what options are available for you to choose. - Select any files that you want to send via eTicket.
- A click on icon “Share selection by eTicket” will start the editor for creating a message to the recipient.

- Alternatively, you can share the entire contents of your shopping cart instead of selecting individual files. If you want to do that instead, cancel your selection (click on “x”) and click on the “Share by eTicket” button to start the editor.

- Required: Enter one or more email addresses or contact names from the Contacts module in field “Recipients”.
Note: Entering contact names without a valid email address is possible. By sending the eTicket, a validation check will notify if an email address is missing. Entries from the “Users” module cannot be entered as recipients. - Required: Enter an expiry date for the eTicket in field “Valid to”.
Note: The eTicket will expire on that date (at midnight) and the recipient can no longer open the eTicket afterwards. The eTicket can be sent again using module filetransfer. - Other required fields already have default settings, which you can change if desired.
- Use the text editor to edit the eTicket message to meet your needs, or select other template versions or text blocks.
- Click the “Send eTicket” icon to send the eTicket.
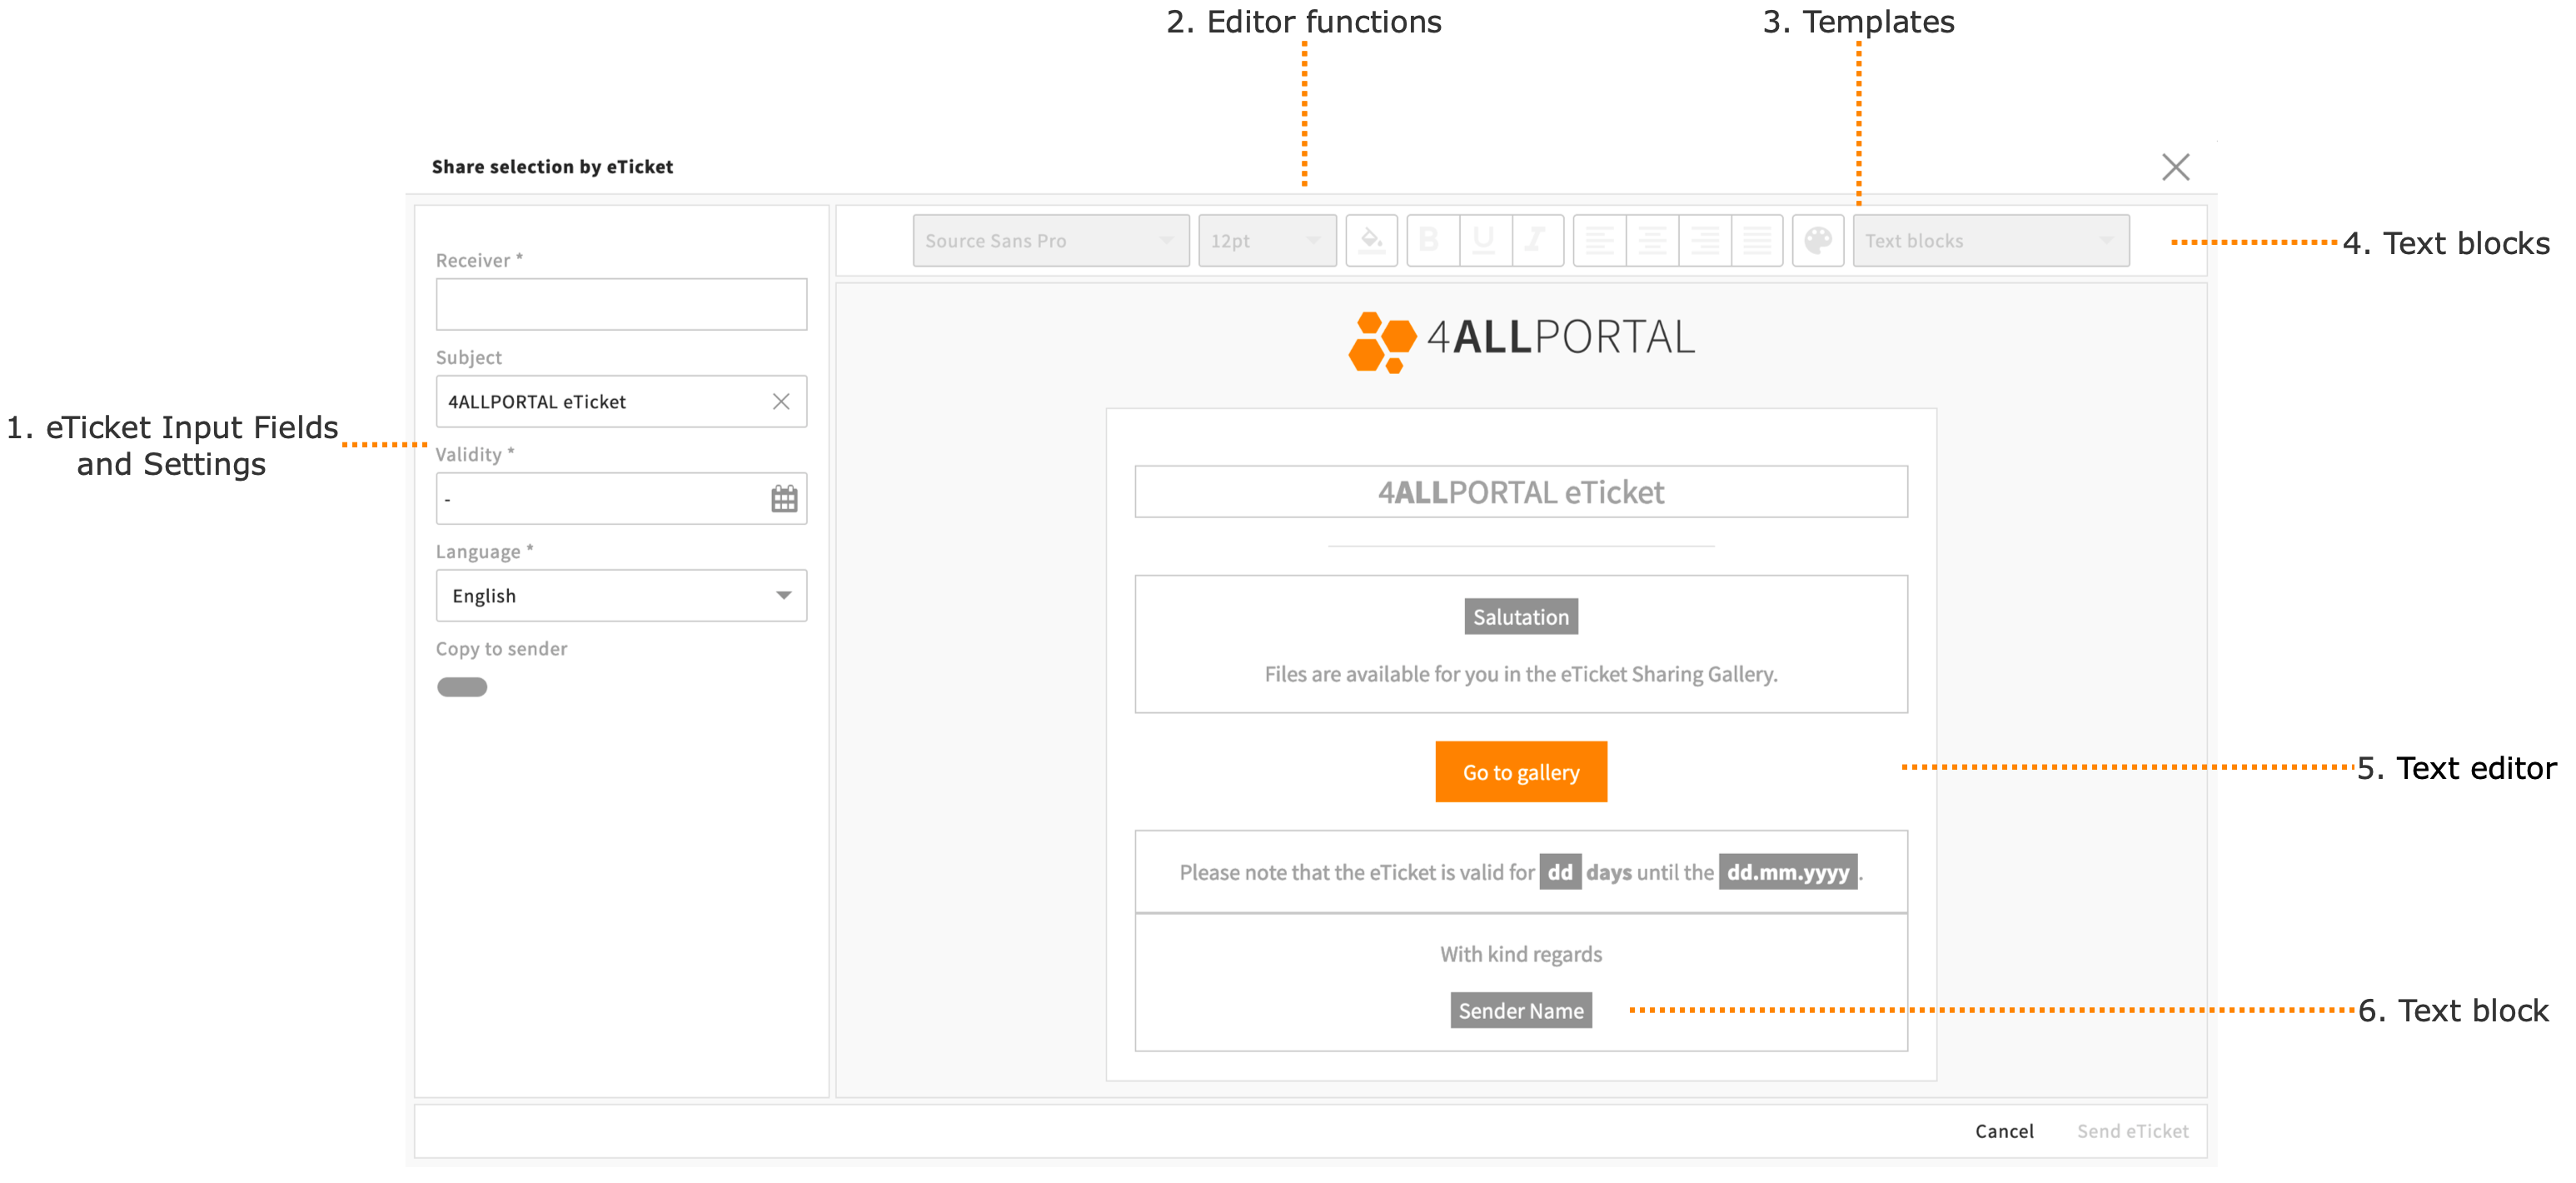
1. eTicket Input Fields and Settings
You can use the input fields to customize the eTicket for delivery and determine the settings.
Required: Recipients
Enter one or more recipients as email addresses or contact names from the contact database.
If you enter an email address that is not yet in the system, a new entry will automatically be created in the Contacts module.
Note: Entering contact names without a valid email address is possible. By sending the eTicket, a validation check will notify if an email address is missing. Entries from the “Users” module cannot be entered as recipients.
Subject
Enter a subject. This will be displayed to the recipient in the subject line of the email.
Required: Validity
Select a period of validity for the eTicket. When the period of validity ends, the recipient can no longer use the eTicket to view the files in the gallery or download them.
Note: The eTicket will expire on that date (at midnight) and the recipient can no longer open the eTicket afterwards. The eTicket can be sent again using module filetransfer.
Language
Select a language for the eTicket. You can select a different language for the eTicket than the one you have set for your use of 4ALLPORTAL. The standard languages are German and English. Other languages may be available depending on customer-specific language packages.
Copy to sender
Select whether you, as a user, would like to receive a copy of the eTicket by email.
2. Editor functions
The editor functions allow you to edit the contents of an eTicket like you would in an email program. There are various fonts and font sizes, formatting options, and colors available.
3. Templates
Click the “Templates” icon to view the available templates.
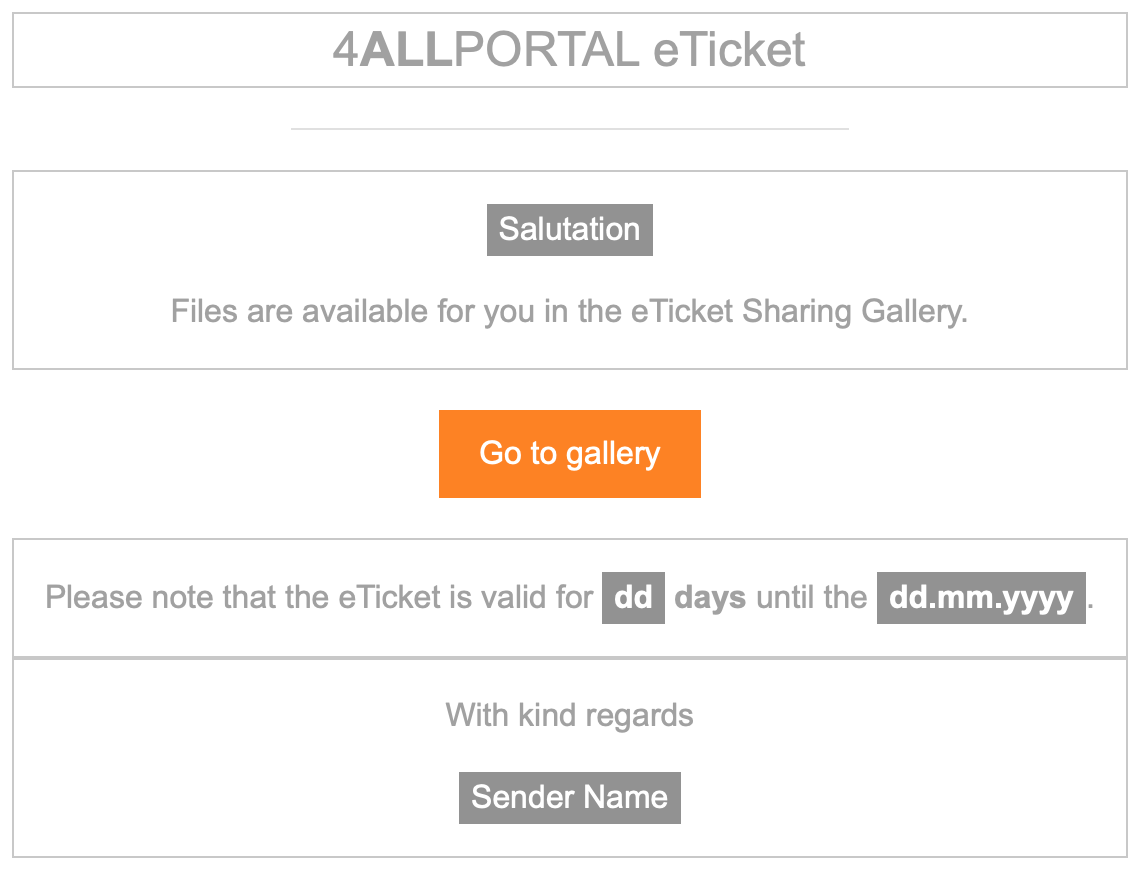
Note: The top screenshot shows the default 4ALLPORTAL template. Your organization may also offer customized templates not shown here.
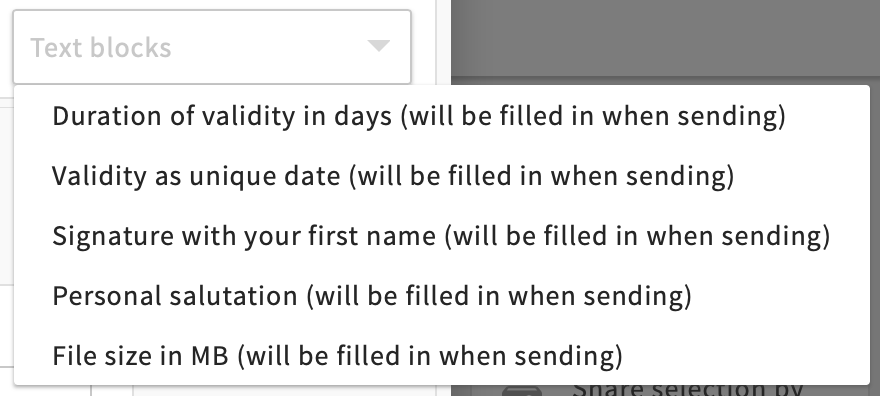
4. + 6. Text blocks
Click the “Text blocks” button to select from the available text blocks. Text blocks are placeholders that the system automatically fills in when you send an eTicket. In a case similar to the example, the recipient would see an actual expiry date in format mm/dd/yyyy.
- In the text editor, set your cursor to the desired position in the text, such as the end of the second paragraph.
- Select a text block. For example: “File size in MB”.
- The text block will be inserted as a “placeholder”. You can format or delete the placeholder like normal text.

The system will automatically fill in the placeholder when the eTicket is sent. That means the recipient will, for instance, see the volume of data to be downloaded in megabytes.
Note: Your organization may have created customized additional text blocks.
5. Text editor
The text editor allows you to edit the editable sections of the eTicket message. The representation in the text editor is generally the same as the representation of the email as seen by the recipient.
Click an editable section to edit its contents, as shown in this example: